Your Guide to Tile Installation
New tile from Tom January Floors will bring your home to a whole new level. First, though, you'll want to trust our flooring experts with your tile installation. Tile installation can be very difficult for casual DIYers, so it's best to leave it to the professionals. Read on to learn more about the process.

Preparing for Your Tile Installation
A pre-installation walk-through with your tile installer will help ensure that you are prepared for the big day. The removal and disposal of old flooring and trim, sub-floor preparation, and door clearance can be addressed during this walk-through.
During & After Your Tile Installation
On installation day, you should plan to be home. Expect a lot of noise and the potential for some above average dust. With that, you should have a plan for keeping children and pets well clear of the work areas.
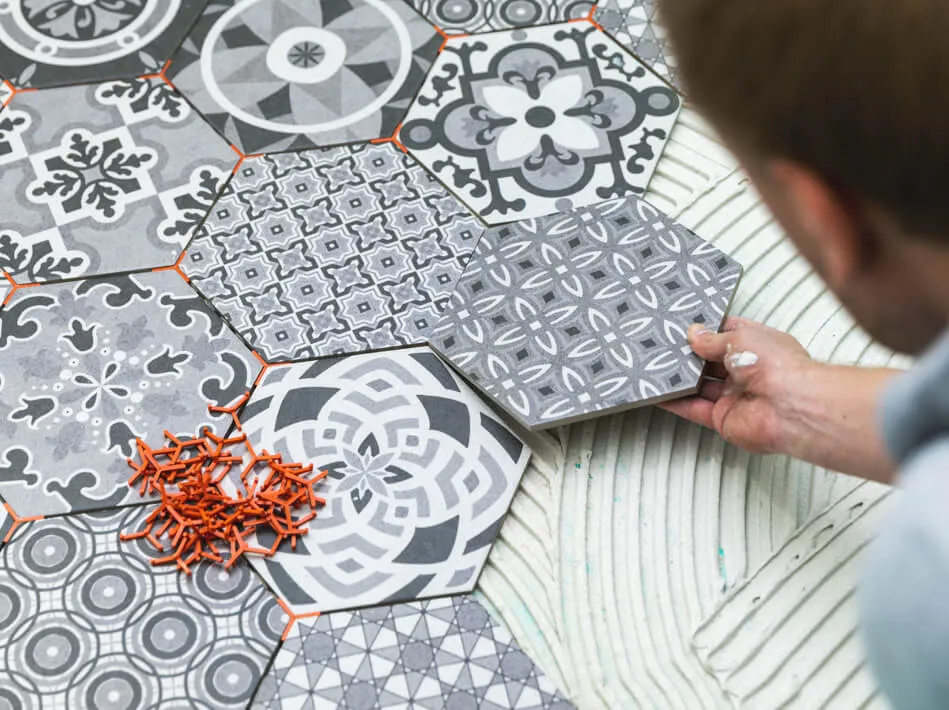
First, the installer will determine tile layout. Then, using chalk as a guide, your installer will spread mortar while carefully placing the tile. Spacers are used between tiles so that they are evenly placed. After the mortar sets, grout is applied—sometimes, the next day.
Once the entire job is done, you will need to wait at least 48 hours before walking on your new tile to allow it to properly cure.
Once your brand new tile is installed, it's up to you to keep it looking and performing its very best! To do this, you need only follow a couple of simple care and maintenance tips. Learn more!
